With our VPS and KVM line of products, you receive full root access to your server. SSH stands for Secure Shell. Simply follow these steps to get right into your VPS and start managing your server. To get started, you'll need to order your VPS and receive the root login details to your email address. Secondly, you must download an ssh client such as PuTTY or MobaXterm. This article will tell you how to install the simpler PuTTY client.
MobaXTerm has a clean looking interface with lots of features for every use you might need. They have a portable version which if you are using a device without administrator access you can download.

PuTTY is very simple and easy to install compared to MobaXterm.
First, you must visit https://www.chiark.greenend.org.uk/~sgtatham/putty/ and click on
Then you will be redirected to this page:
I am clicking on the MSI installer which comes with everything pre-installed but you can install the putty.exe version. Make sure you select 32 bit or 64 bit depending on your operating system.
Once you clicked on the download of your choice, you may have to wait for a few seconds or minutes, or if you are like me. Hours. It should appear like so:
You will be guided through an installer:
I am selecting the root directory of my system for the file location.
You shouldn't be needing to change it but change it if you want to. This is useful if you want to install it on another drive. Click "Next".
I am leaving everything on default and installing. You will need an admin account or your administrator password.
You can uncheck the View README file and click finish.
Now to access them you will need to press the Windows key, you may have 2 of them but I use the one on the left. Now you should see this on the top left side:
The client you use is the one that says PuTTY.
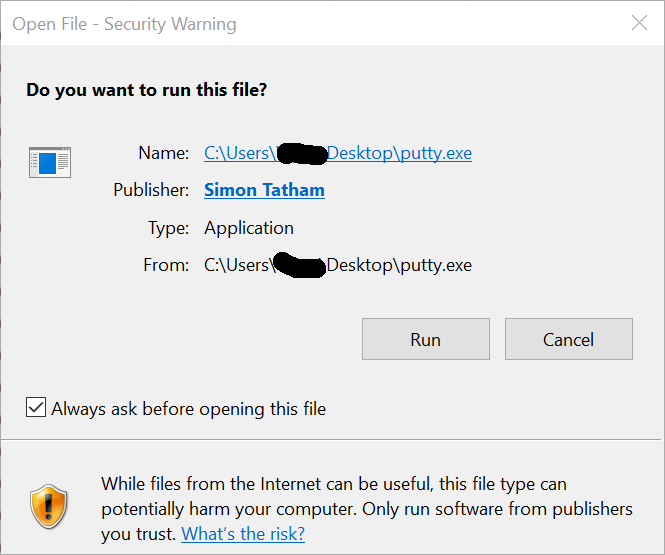
You may see a screen similar to the screen below. Please check "Always ask before opening this file" and then click run.
You will then see a screen that will ask for the hostname or IP address of your server. Please enter the IP address of your server. It should look something like this.
Note: The port will remain 22 UNLESS otherwise configured by you.
Next, you will need to enter the password for root. The root password should be given in your email.
Type the password in to the shell (remember that passwords won't show when typed!)
After a successful login, you will be greeted with the default ubuntu welcome page.
Good job! You have successfully SSH'ed into the VPS!