You should receive your details like so, you will need to create a ticket or wait for some time for your VPS to be approved/made active. This is only on first-time purchases.
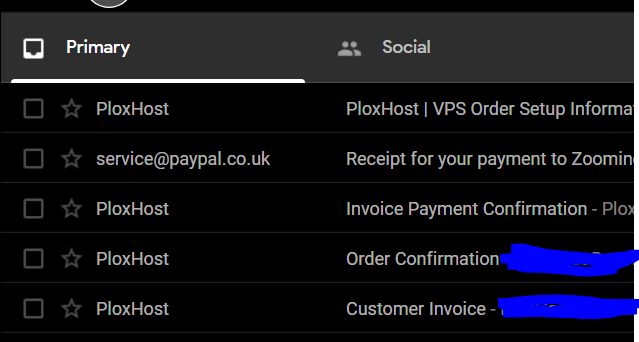
The First 3 emails are about your payment and which you should get before your VPS arrives within your hands, virtually of course. The last email which is the PloxHost | VPS Order Setup information contains important details such as your login details.
Navigate to
https://billing.plox.host/clientarea.php select the vps you have bought.
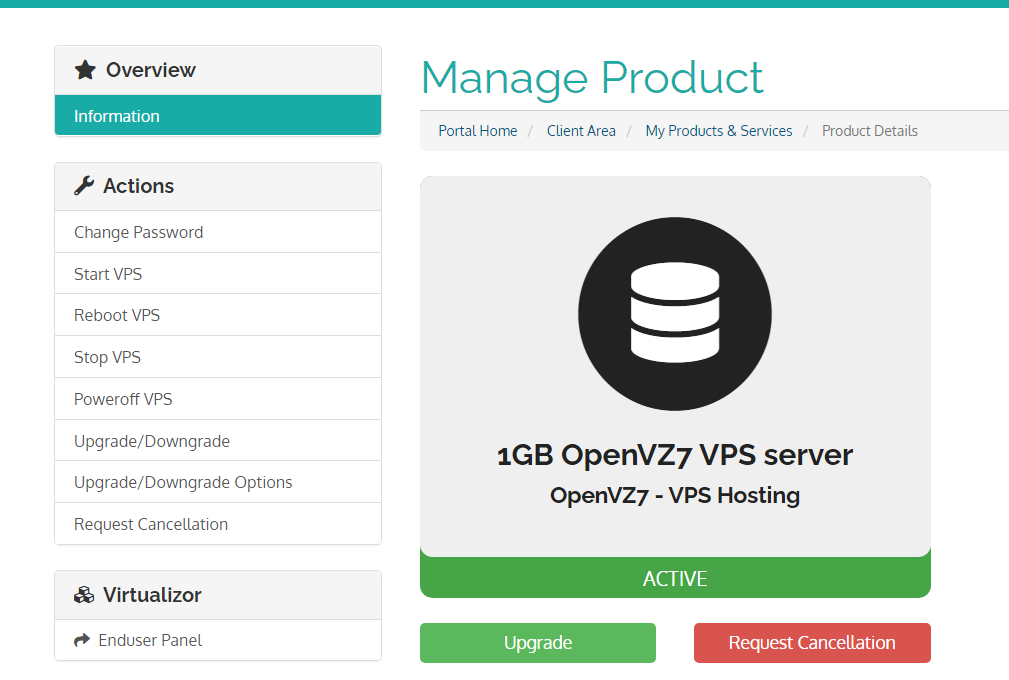
It should look like this. Scrolling down you should see the following details.
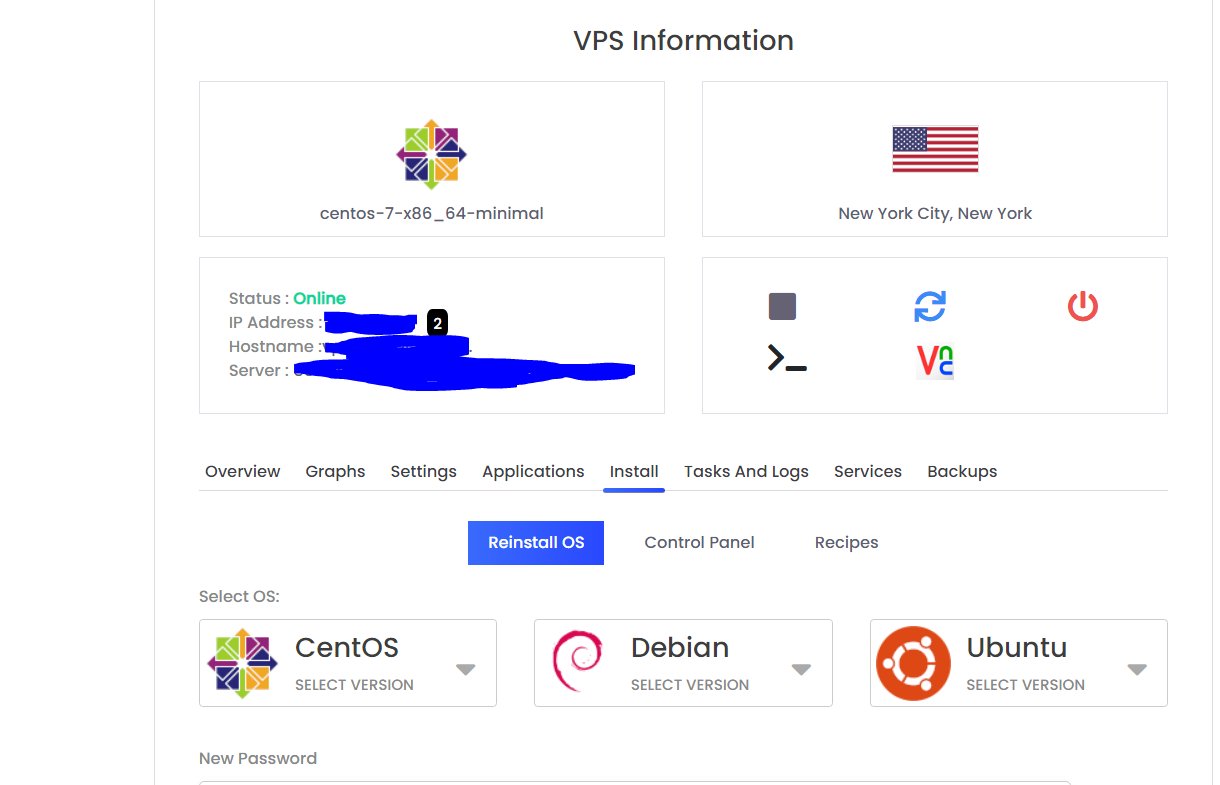
This shows we are using the centos 7 operating system. We are located in New York City. This is how you can control the server from reinstallations and restarting/stopping/starting the vps.
Please follow this
article about logging into your VPS with the details from
PloxHost | VPS Order Setup Information
Once you have followed that you are now into your server. It should look sort of like this:
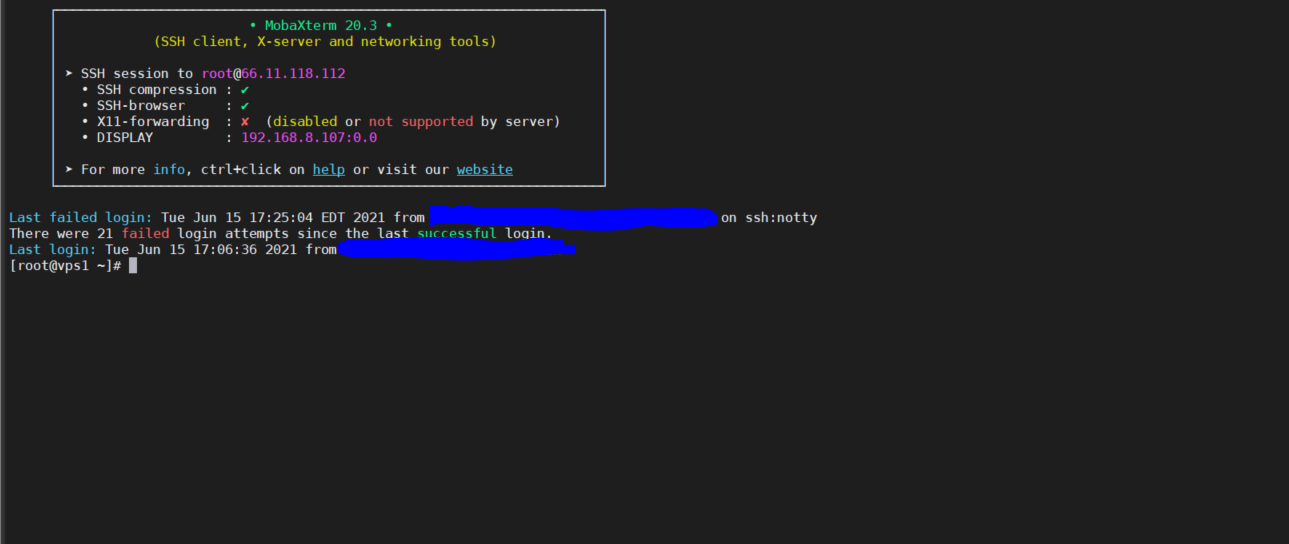
As you see 21 people tried to log in since my last login. Disabling password-based authentication will solve this as it uses
ssh keys.
Install Nano
Nano is a text editor which is another one for vim. I checked if it was installed and it was not.

On Ubuntu, you would use apt-get install nano but on Cent os, we use yum. Execute this in your terminal:
yum install nano
You should get a message like:
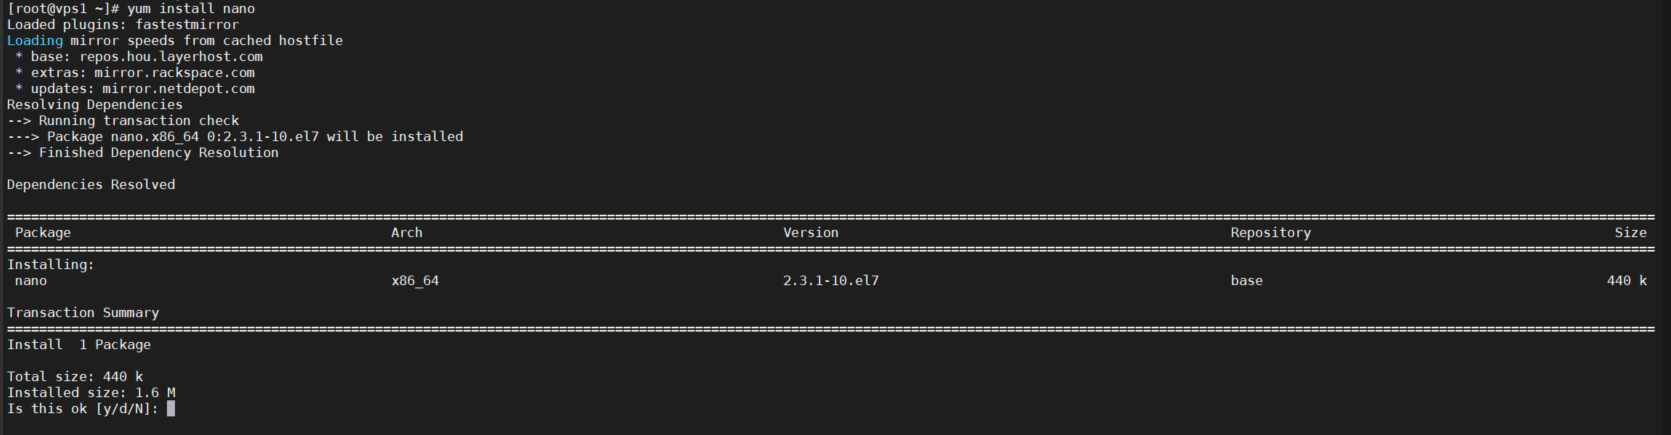
This is asking if you want to use 1.6 Megabytes of storage on this. Type in y
Then you will get another message.

Type in y.
Type in nano to the terminal.
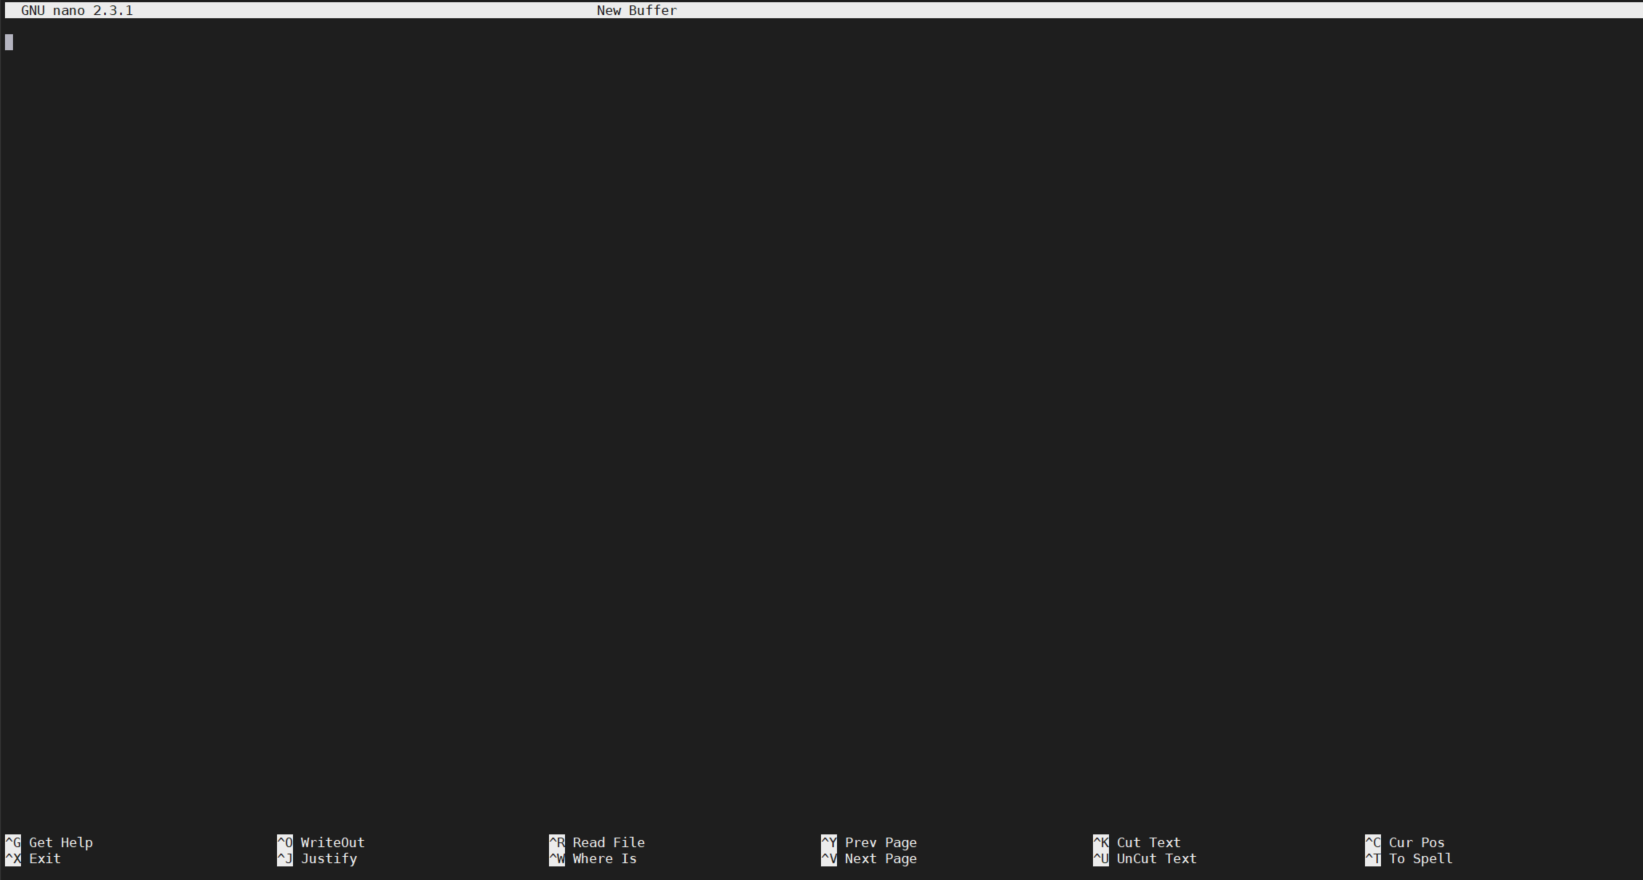
It should look like this, if not refollow the instructions. You can now either write something or press CTRL + X, if promoted type in n to not save. Then you should return back to the normal place.
You now have successfully installed Nano and logged into your VPS.