How to Use FTP
Managing your server files is simple. You can do it directly from your web browser using WebFTP or via a dedicated client on your computer like FileZilla.
💡 Which method should you choose?
- WebFTP (File Manager): Best for quick edits, modifying small configuration files, and uploading lightweight plugins.
- FTP Client (FileZilla, WinSCP, CyberDuck, etc.): Recommended for uploading or downloading large files, full folders, and performing advanced file management.
Option 1: Using WebFTP (File Manager)
This method requires no software installation on your computer.
- Log in to your control panel and select your server.
- Click on File Manager in the left sidebar menu.
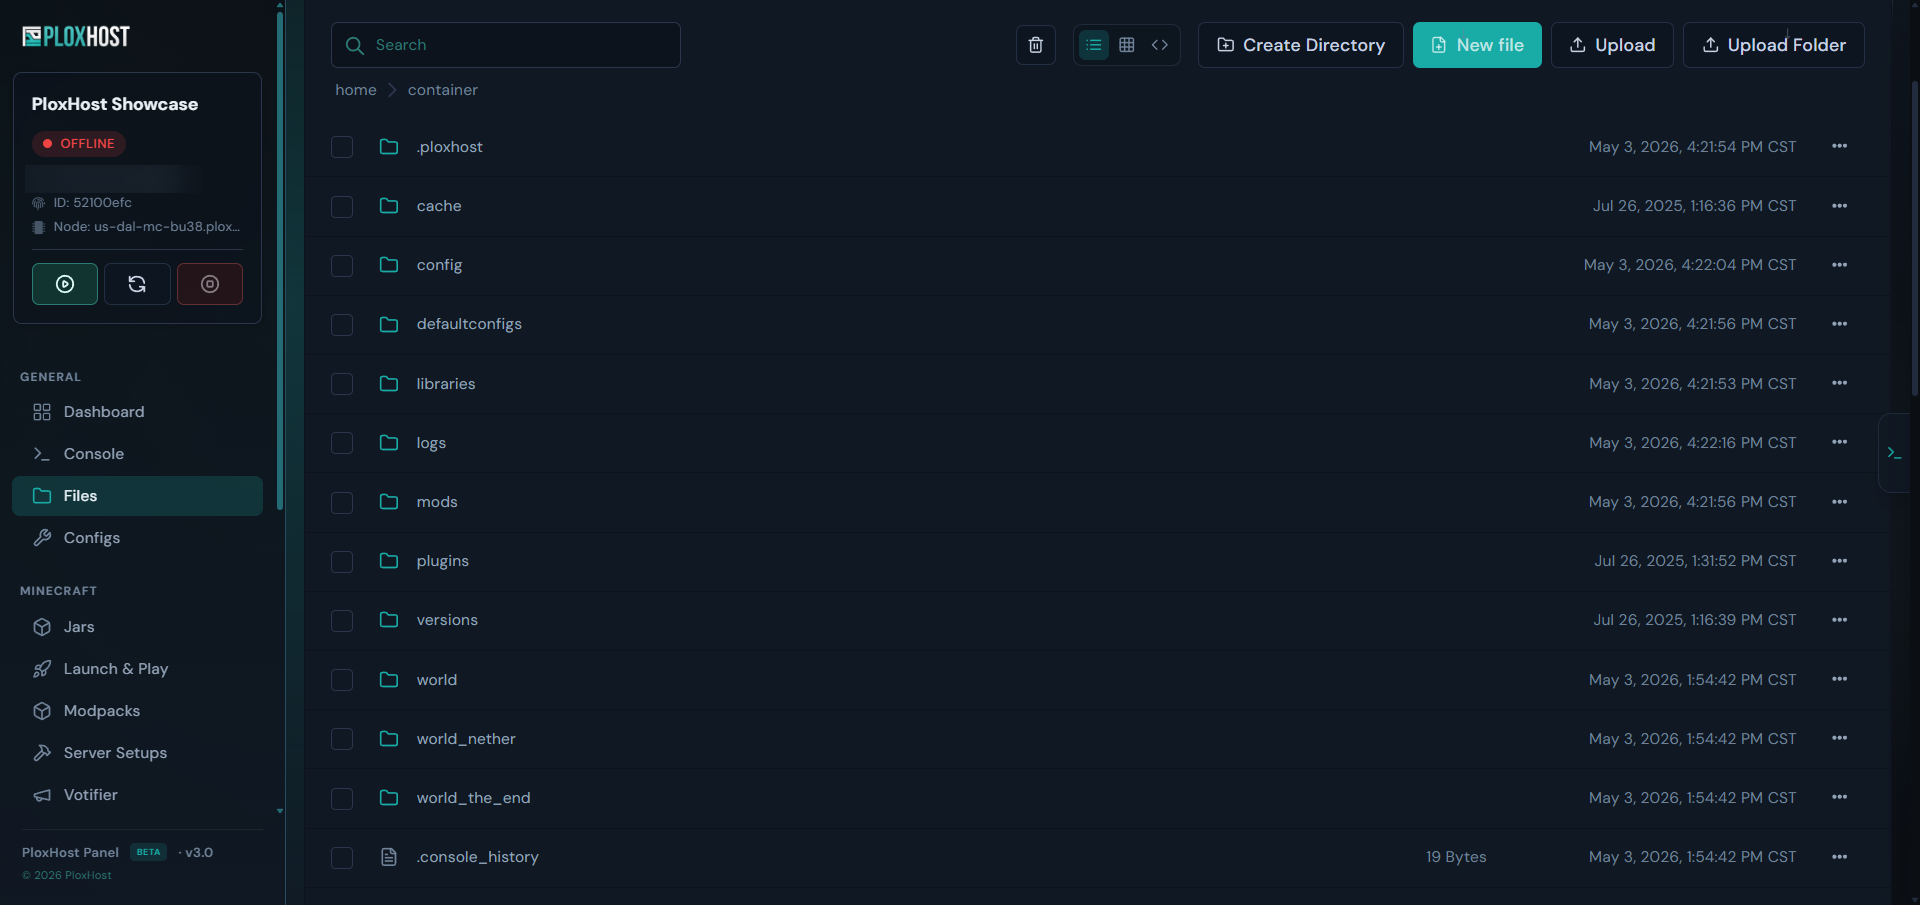
That's it! You can now browse and manage your server files directly from your browser.
Option 2: Using an FTP Client
In this example, we will use FileZilla, as it's the industry standard and a free alternative. But any program that works with SFTP will work.
Step 1: Download and Install FileZilla
- Visit the official website: https://filezilla-project.org/
- Click the Download FileZilla Client button.

- Run the downloaded installer and complete the setup. Once installed, launch the application.
Step 2: Connect to Your Server
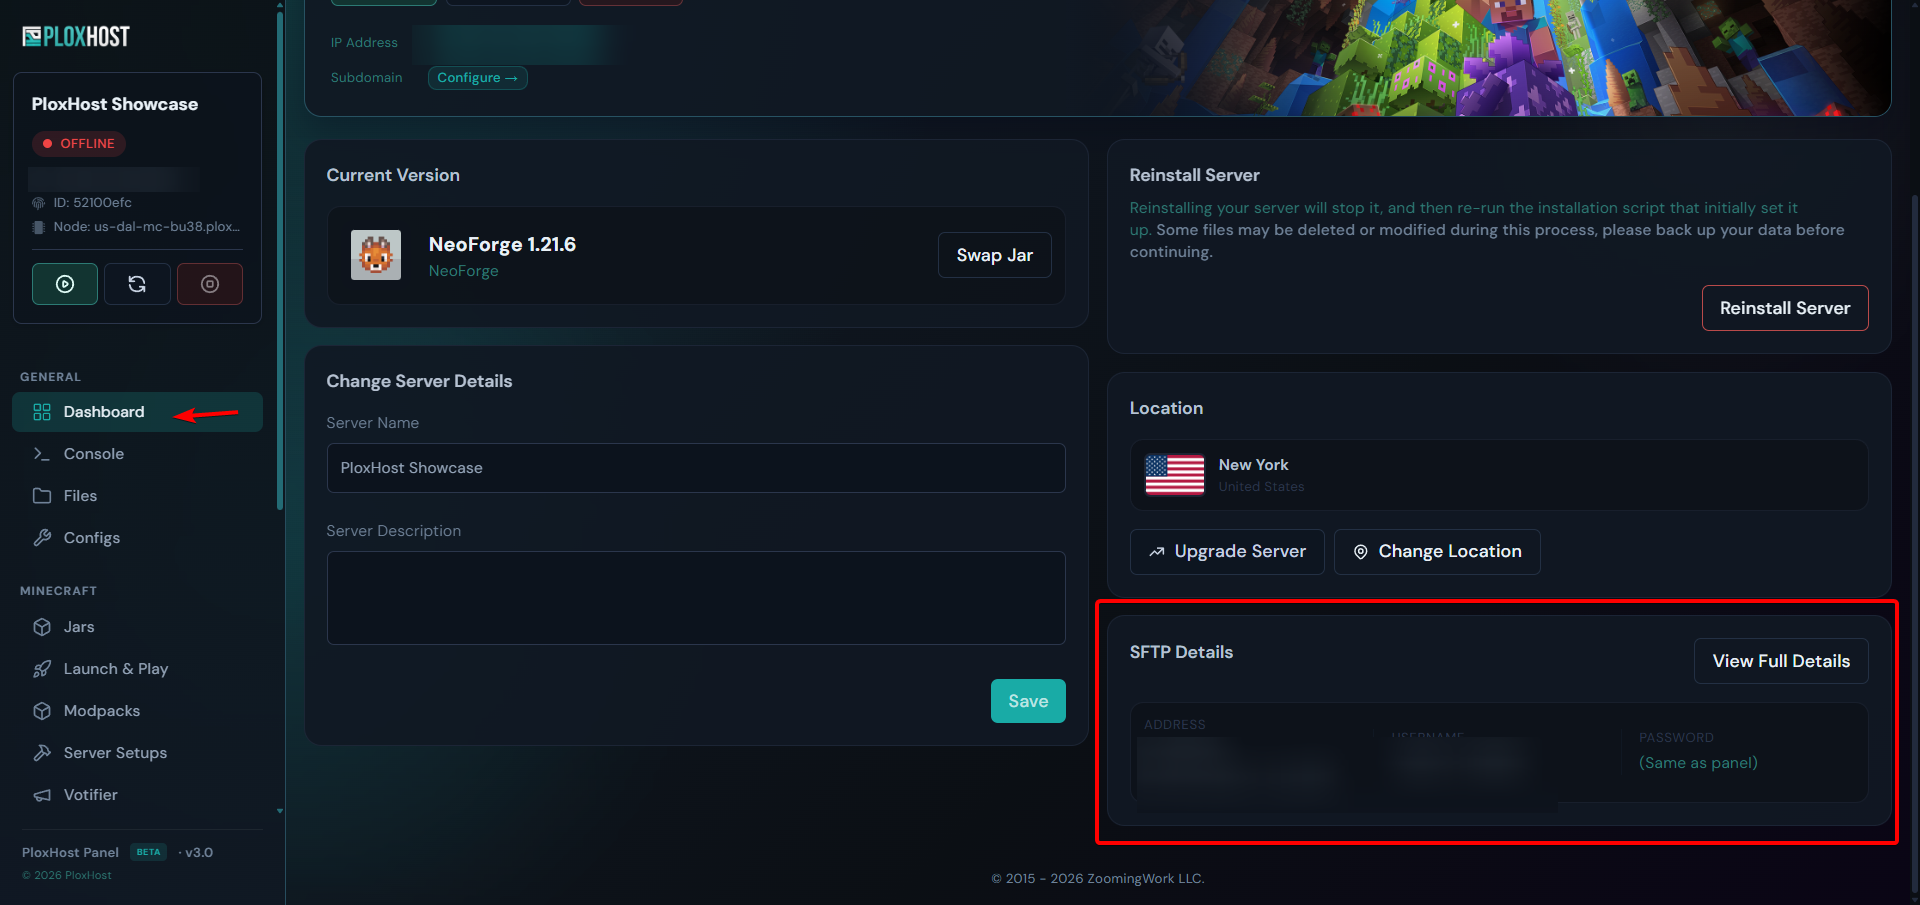
- In your server control panel, navigate to Dashboard > SFTP Details in the left sidebar to view your connection details.
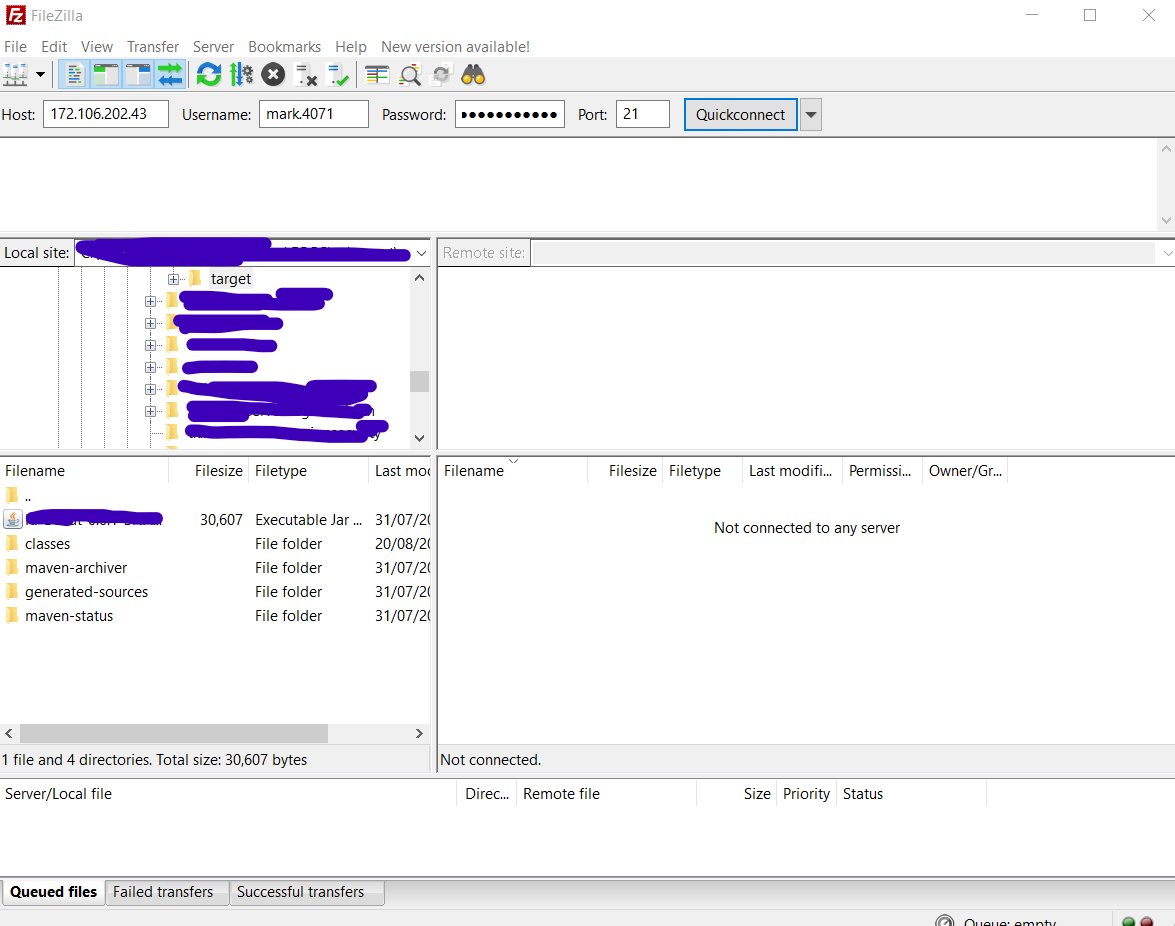
- Enter your credentials into the corresponding fields at the top of FileZilla, then click Quickconnect.
How to Edit a File Using FileZilla
⚠️ Recommendation: For smooth file editing, we suggest installing a dedicated text editor like
Notepad++. You can download it
here.
- In FileZilla, navigate to the folder containing the file you want to edit (for example, inside the
plugins directory).
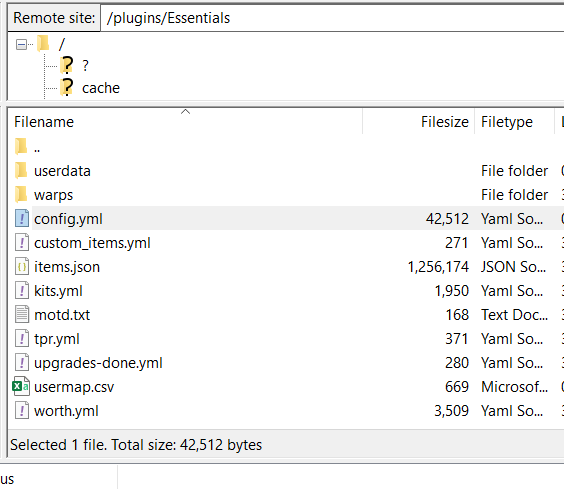
- Right-click the file you wish to modify (e.g.,
config.yml) and select View/Edit.
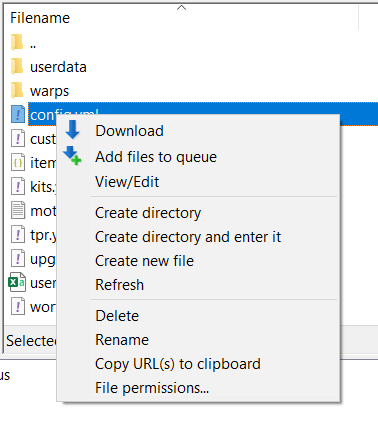
ℹ️ First-Time FileZilla Setup:
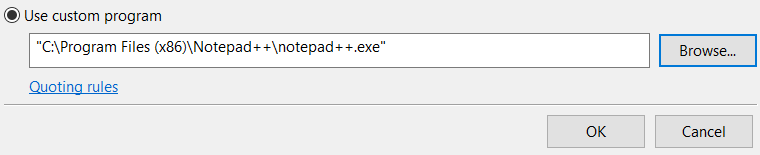
If this is your first time opening a file, FileZilla will prompt you to set a default text editor.
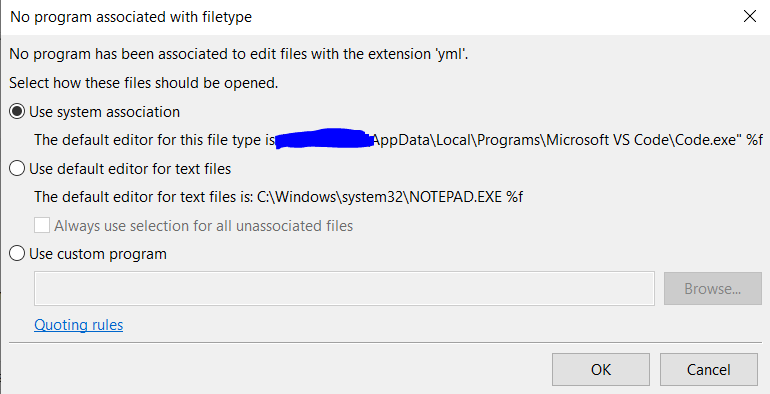
To associate Notepad++:
- Select the Use custom program radio button.

- Locate your Notepad++ directory (default path is usually
C:\Program Files (x86)\Notepad++\notepad++.exe).
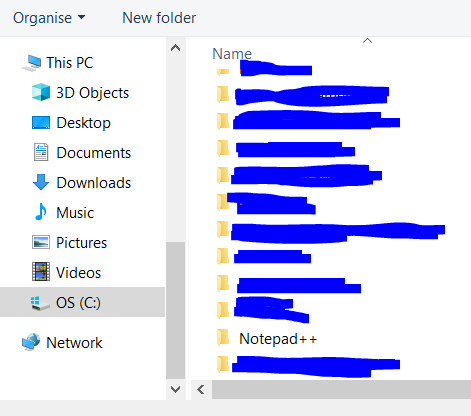
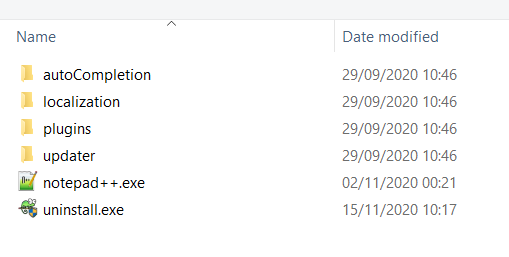
- Select
notepad++.exe, click Open, and then click OK.
- Make your changes in the text editor and press CTRL + S to save.
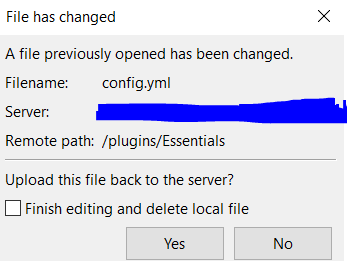
- FileZilla will display a prompt asking if you want to upload the modified file back to the server. Click Yes.
- Restart your server to apply the updated configuration.
Troubleshooting
Error: "No program has been associated with this file type"
If you encounter this error when opening a file, FileZilla does not have an editor assigned for that specific extension. Follow these steps to resolve it:
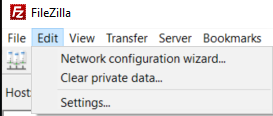
- In FileZilla's top menu, go to Edit > Settings.
- In the left panel, navigate to Connection > File editing > Filetype associations.
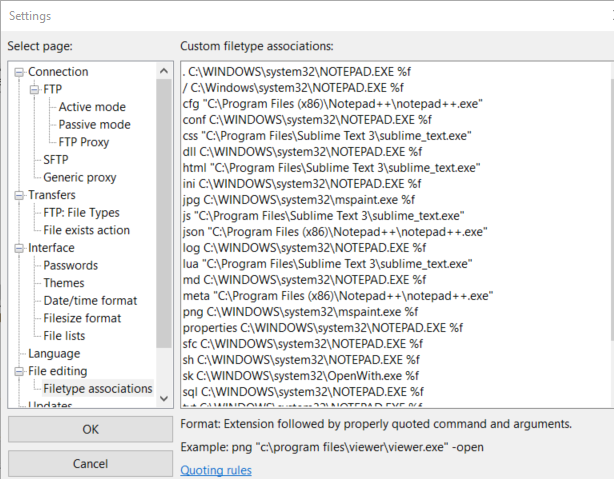
- Clear any existing text inside the text box to reset the associations, or manually specify your editor path.
- Click OK to save your changes.
🤝 Need Additional Help?
If you experience any issues connecting to FTP or editing your files, feel free to open a support ticket with our team.